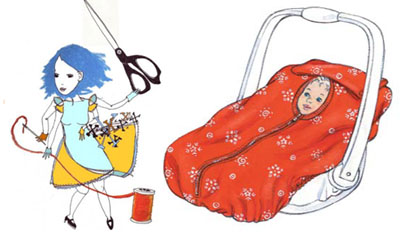
Free sewing pattern for baby car seat cover can be found here. Sewing a nice pattern for your baby’s seat is a little bit different from how to upholster car seats. However, there are still some steps are more or less the same. Ready made baby car seat is available in most of the market, but sometimes the pattern is not what you want. Therefore, learn up these easy 5 steps skills on how to make a baby car seat cover when you free.
How to make a baby car seat cover
Step 1 – Measure the size
Measure the size or the car seat according to the baby seat. The size of the head rest, body frame, and backrest. Add extra 10-20 inches to each of every end. This is to make sure there are extra fabric to completely cover the seat.
Step 2 – Choose the sewing pattern
Decide what kind of sewing pattern you like to go for, then choose the material, either fabric, cotton or leather for the baby car seat cover. You can choose any pattern we shared in this post. You may also check out this special pattern “Paw car magnets rescue”.
Step 3 – Cut the sewing pattern
Now cut the sewing pattern and place it on the fabric.
Step 4 – Apply elastic to the seat
It’s time to apply elastic to the seat, make sure it is applied on every side of the new cover. Alternatively, you can use Velcro tapes, some comment said that Velcro tapes are more reliable to use.
Step 5 – Paste the cover to the baby seat
Here comes the last easy step, paste the sewed pattern cover to the baby seat. There you go to put the seat in the car. On the other hand, you can attach some elastic to the seat borders so that it could snug to the original car seat nicely.

Leave a Reply